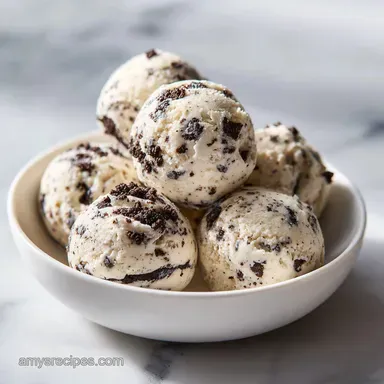
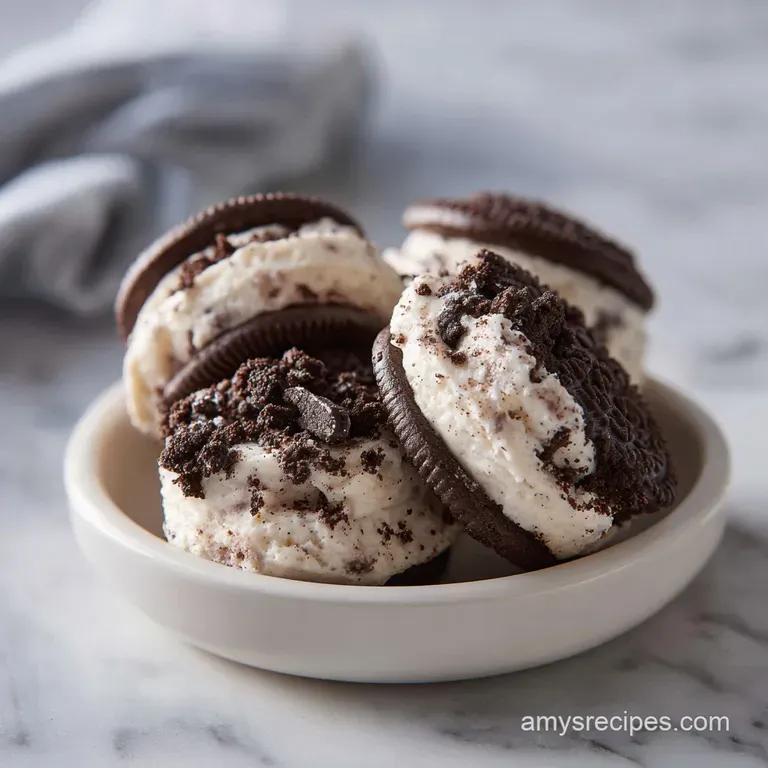
Oreo Protein Balls: Creamy and High-Protein
- Time:15 minutes active + 60 minutes chilling = 75 minutes total
- Flavor/Texture Hook: Velvety cream cheese center with a dark chocolate snap
- Perfect for: Post workout fuel, meal prepped snacks, or low effort desserts
- Nailing Your Homemade Oreo Protein Balls
- Understanding the Core Recipe Specs
- The Essential Ingredients for Success
- Tools Needed for Easy Prepping
- Step by Step Rolling Instructions
- Fixing Common No Bake Mistakes
- Easy Scaling for Any Occasion
- Smart Storage for Fresh Bites
- Creative Flavors to Explore Now
- Impressive Serving and Plating Ideas
- Kitchen Myths Debunked
- Recipe FAQs
- 📝 Recipe Card
Nailing Your Homemade Oreo Protein Balls
The distinct "thwack" of a rolling pin hitting a freezer bag full of cookies is basically the dinner bell for my late night cravings. I used to spend way too much money on those chalky, store-bought bars that taste like sweetened cardboard, but everything changed when I realized I could just use real Oreos.
There is something incredibly satisfying about watching a block of cream cheese and a few scoops of powder transform into a velvety, decadent bite that actually fits into my macro goals for the week.
We are looking for that specific sensory hit: the cold, firm exterior giving way to a rich, cookies and cream interior that doesn't leave that weird protein aftertaste. It is about efficiency and flavor. I have made these for gym friends, skeptical family members, and even as a quick snack for a road trip.
They never last more than two days in the fridge because they are just that good. If you are tired of boring snacks, we are about to change your meal prep game forever.
These Oreo Protein Balls are not just a "healthier" version of a truffle; they are a legitimate upgrade. By using the cream cheese as a fat based binder instead of just adding water or milk to protein powder, we get a mouthfeel that is remarkably close to a cheesecake.
It is direct, it is simple, and it works every single time. Let's get into the specifics of why this combination is a winner.
Understanding the Core Recipe Specs
Before we jump into the mixing bowl, let's look at how this recipe stacks up against the traditional "shortcut" versions you might find online. Most people just throw protein powder and water together, but we are going for something much more substantial here.
| Method | Prep Time | Texture Result | Shelf Life |
|---|---|---|---|
| Our Recipe | 15 minutes | Fudgy and velvety | 7 days in fridge |
| Shortcut (Water/Oats) | 5 minutes | Grainy and dry | 2 days (dries out) |
| Bakery Style (Butter) | 30 minutes | Very rich/greasy | 5 days in fridge |
Structural Binding: The protein powder acts as a dry, absorbent agent that stabilizes the moisture in the cream cheese. This prevents the balls from becoming a sticky mess when they reach room temperature.
Fat Saturation: Using full fat cream cheese provides the "slip" needed to carry the cocoa flavors from the cookies across your palate, which is something water based recipes completely lack.
Temperature Control: Chilling the mixture for exactly 60 minutes allows the fats to solidify around the protein fibers, creating a firm bite that doesn't crumble.
Sugar Density: The maple syrup acts as a humectant, keeping the center moist even after several days in the refrigerator.
The Essential Ingredients for Success
Selecting the right components is half the battle when you are working with no bake recipes. Since we aren't cooking anything, the quality of your ingredients is what defines the final taste.
Component Analysis
| Ingredient | Science Role | Pro Secret |
|---|---|---|
| Cream Cheese | Primary Emulsifier | Use full fat blocks only for the best structural integrity. |
| Protein Powder | Dry Mass/Binder | Whey/Casein blends absorb liquid more evenly than pure Whey. |
| Oreo Cookies | Texture/Flavor | Leave some chunks large for a "crunch" contrast in every bite. |
- 12 standard Oreo cookies (approx. 135g): Why this? They provide the classic chocolate vanilla base that defines the flavor profile.
- 8 oz cream cheese, softened: Why this? It creates the cheesecake like foundation and binds the dry powder.
- 1 tsp vanilla extract: Why this? Rounds out the sweetness and mimics the Oreo filling flavor.
- 2 scoops protein powder (approx. 60g): Why this? Adds the "fuel" factor and acts as a structural flour substitute.
- 1 tbsp maple syrup or honey: Why this? Adds a hint of natural sweetness and helps the dough stay pliable.
- 2 extra Oreo cookies: Why this? Finely crushed for a decorative and textured outer coating.
- 2 oz dark chocolate, melted: Why this? Provides a crisp shell that contrasts with the soft interior.
Tools Needed for Easy Prepping
You don't need a professional kitchen, but a few specific items make this much faster. I've tried doing this with just a fork and a bowl, and trust me, your forearms will regret it.
- Heavy duty freezer bag: Essential for crushing the cookies without making a mess of your counter.
- Rolling pin: Or a heavy wine bottle if you're in a pinch. You want consistent pressure to get those crumbs even.
- Large mixing bowl: Give yourself enough space to fold the ingredients without the protein powder flying everywhere.
- Hand mixer: While you can do this by hand, a mixer ensures the cream cheese is perfectly aerated and smooth.
- Cookie scoop (small): This is the secret to getting exactly 20 even portions. It also keeps your hands cleaner.
- Parchment paper: Nothing is worse than your beautiful snacks sticking to a metal tray.
Chef's Tip: Freeze your cream cheese for 5 minutes before unwrapping if it's too soft; it helps it peel away from the foil wrapper perfectly every time.
Step by step Rolling Instructions
Let's get to work. Following these steps in order ensures the dough reaches the right consistency before you start rolling.
- Crush the cookies. Place 12 Oreos in a freezer bag and use a rolling pin to pulverize them until you have fine dust mixed with pea sized chunks. Note: Those chunks are the "flavor gold" that give you texture.
- Cream the base. In your large bowl, beat the 8 oz of softened cream cheese and vanilla until the mixture looks like smooth frosting.
- Sweeten the deal. Add your 1 tbsp of maple syrup or honey and mix again for 30 seconds.
- Add the protein. Gradually fold in the 60g of protein powder. Do this slowly until the white powder is completely absorbed and a thick dough forms.
- Fold in crumbs. Pour the bag of 12 crushed cookies into the bowl and fold with a spatula until the dark crumbs are marbled throughout.
- Portion the dough. Use your scoop to drop 20 mounds onto your parchment lined sheet.
- Roll into spheres. Roll each mound between your palms until they are smooth and round.
- Add the coating. Roll the balls in the 2 extra crushed cookies or dip half of each ball into the 2 oz of melted dark chocolate.
- The big chill. Refrigerate the tray for at least 60 minutes until the balls feel firm to the touch.
Fixing Common No Bake Mistakes

Even with a simple recipe, things can get a bit wonky depending on the brand of protein powder or the temperature of your kitchen. Don't panic; it is usually an easy fix.
Why Your Dough is Too Sticky
If your dough feels more like paste than playdough, your protein powder might not be as absorbent as others. This often happens with pure whey isolates. Add an extra tablespoon of crushed cookies or a teaspoon of coconut flour to pull that moisture out.
Why the Balls are Crumbling
This usually means the cream cheese was too cold when you started, or you used a very dry plant based protein. Add a teaspoon of milk or an extra splash of maple syrup to bring the "glue" back into the mix.
| Problem | Root Cause | Solution |
|---|---|---|
| Sticky Dough | High moisture content | Add 1 tbsp extra protein powder or cookie dust |
| Gritty Texture | Undissolved powder | Let the mix sit for 10 mins before rolling |
| Chocolate Cracking | Cold balls hit hot choc | Let the chocolate cool slightly before dipping |
Common Mistakes Checklist
- ✓ Ensure the cream cheese is truly at room temperature before beating.
- ✓ Don't skip the 60 minute chill time; the protein needs time to hydrate.
- ✓ Use a silicone spatula to scrape the bottom of the bowl for unmixed powder.
- ✓ Pat your hands with a tiny bit of water if the dough sticks during rolling.
Easy Scaling for Any Occasion
Whether you are prepping for yourself or making a huge batch for a party, the math is straightforward. Just be careful with your liquids.
Cutting the Recipe in Half
If you only want 10 balls, use 4 oz of cream cheese and 1 scoop of protein. For the egg free nature of this recipe, it's very easy to scale down. Reduce the chilling time to 40 minutes as the smaller mass sets faster.
Doubling or Tripling
When making 40 or 60 balls, do not double the maple syrup immediately. Start with 1.5x the amount and taste it. Large batches of protein powder can sometimes hold onto sweetness more intensely. Work in batches for the rolling process so the dough doesn't sit out at room temperature for too long.
| Servings | Oreo Count | Cream Cheese | Protein Scoops |
|---|---|---|---|
| 10 Balls | 6 cookies | 4 oz | 1 scoop |
| 20 Balls | 12 cookies | 8 oz | 2 scoops |
| 40 Balls | 24 cookies | 16 oz | 4 scoops |
Smart Storage for Fresh Bites
Proper storage is the difference between a treat and a disappointment. Since these contain dairy, you can't just leave them on the counter.
Fridge Storage: Keep your Oreo Protein Balls in an airtight container for up to 7 days. I like to line the container with a paper towel to catch any condensation that might soften the cookie coating.
Freezer Instructions: These freeze beautifully! Wrap them individually in plastic wrap or place them on a tray to freeze solid before tossing them into a freezer bag. They will stay fresh for 3 months.
To eat, just let one sit on the counter for 15 minutes or eat it straight from the freezer for a "frozen truffle" vibe.
Zero Waste Tip: If you have leftover crumbs in the bottom of the Oreo bag, don't throw them out. Stir them into Greek yogurt or top your morning oatmeal with them for a little extra crunch.
Creative Flavors to Explore Now
Once you have the base down, you can start playing with the profile. I've experimented with several versions, and these are the ones that actually work without ruining the texture.
The Peanut Butter Power Up
Swap out 2 oz of the cream cheese for 2 oz of creamy peanut butter. This adds a salty depth that cuts through the sweetness of the Oreos. It makes the dough slightly more dense, so you might need a tiny splash of almond milk to keep it pliable.
The "Thin Mint" Transformation
Use the Mint Oreo variety and add a tiny drop of peppermint extract to the cream cheese base. This is especially good if you use a chocolate flavored protein powder. It tastes exactly like a high end mint truffle but with the added benefit of that protein boost.
Dairy-free Swap
You can use a plant based cream cheese (like Kite Hill) and a vegan protein powder. Note that vegan protein powders (especially pea protein) absorb much more liquid, so you might need to increase the maple syrup to 2 tablespoons to prevent the balls from becoming dry and sandy.
Impressive Serving and Plating Ideas
If you are serving these to guests, a little effort goes a long way. Don't just pile them in a bowl; we want that "wow" factor.
The Dessert Platter
Arrange the balls on a slate board or a white ceramic plate. Drizzle a little extra melted dark chocolate in a zigzag pattern across the whole batch while they are still on the parchment, then transfer them once set. This looks incredibly professional and hides any minor imperfections in the rolling.
The Coffee Pairing
These are spectacular when served alongside a hot espresso or a cold brew. The bitterness of the coffee brings out the cocoa notes in the Oreos and the richness of the cream cheese. For a fancy touch, put each ball in a mini metallic cupcake liner.
It makes them feel like something you'd buy at a boutique chocolate shop.
Kitchen Myths Debunked
Myth: You must use "low fat" cream cheese to make these healthy. The Truth: Actually, low-fat cream cheese often contains more stabilizers and fillers that can make the dough watery. The fats in the full fat version are what provide the satiety and the correct structural set.
Stick to the real stuff for the best results.
Myth: Sifting the protein powder is a waste of time. The Truth: Protein powder is notorious for clumping, especially if the container has been open for a while. Taking 30 seconds to stir it with a whisk before adding it to the cream cheese ensures you don't end up with a chalky pocket of dry powder in the middle of a ball.
Myth: You can't over mix the dough. The Truth: While you won't develop gluten, over beating the cream cheese once the cookies are in can turn the whole mixture a muddy grey color. Fold the cookies in by hand to keep those beautiful white and black speckles visible.
Recipe FAQs
Are protein balls actually healthy?
It depends on your nutritional goals. While these provide protein compared to standard cookies, they remain a dessert containing cream cheese, sugar, and Oreos, so enjoy them as an occasional treat rather than a meal replacement.
How many Oreos per cream cheese for Oreo balls?
Use 12 Oreos for every 8 oz block of cream cheese. This ratio ensures the dough maintains a thick consistency that holds its shape after rolling and chilling for 60 minutes.
Is it okay to eat protein balls every day?
No, it is best to treat them as an occasional indulgence. Because they are calorie dense at 128 kcal per serving, eating them daily may exceed your personal caloric and sugar intake targets.
Why are my Oreo balls so greasy?
You likely used cream cheese that was too warm or over beaten. Ensure your cream cheese is only slightly softened to room temperature and chill the final balls for the full 60 minutes to allow the fats to solidify properly.
How to ensure the balls set properly?
Refrigerate the tray for at least 60 minutes on parchment paper. This cooling period is essential for the cream cheese and protein powder base to transition from a soft dough into a firm, snackable texture.
Is it true these must be frozen to stay firm?
No, this is a common misconception. The recipe is designed to firm up perfectly in a standard refrigerator; freezing is unnecessary and may alter the texture of the cream cheese.
How to get the perfect texture when crushing cookies?
Pulverize the 12 Oreos in a freezer bag using a rolling pin until you see a mix of fine dust and small chunks. Leaving these pea-sized pieces is vital for the signature crunch that contrasts with the smooth cream cheese base.
Oreo Protein Balls