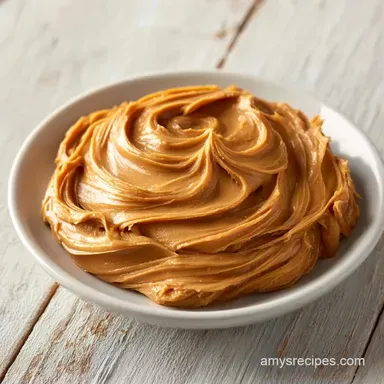
Peanut Butter Birthday Spread: Fluffy and Velvety
- Time:10 minutes active
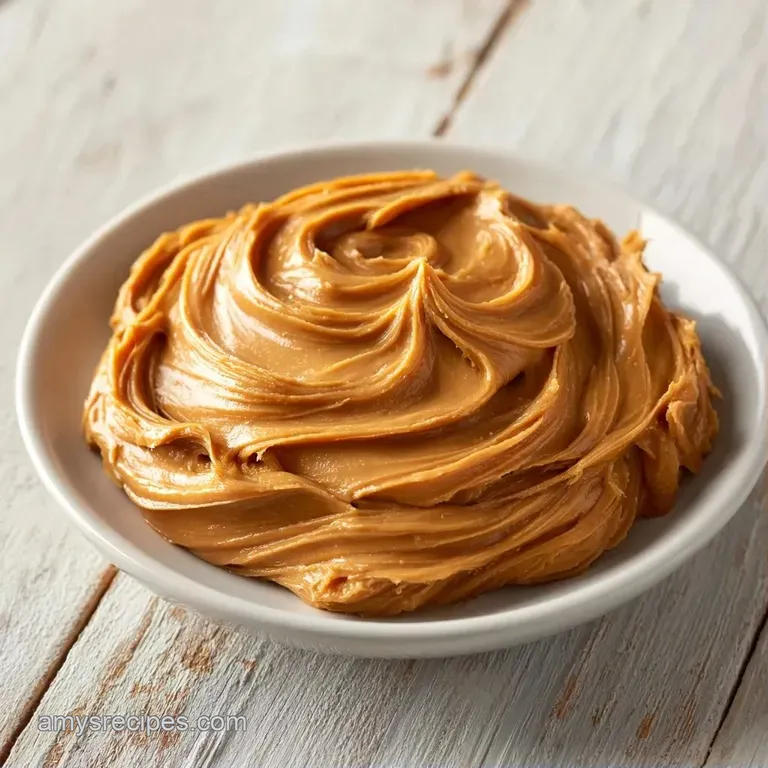
- Flavor/Texture Hook: Velvety, fluffy, and salty sweet
- Perfect for: Quick breakfasts, party platters, or dessert fillings
The Easy Peanut Butter Spread Guide
That specific, nutty aroma hitting the air the second the food processor starts is enough to wake up anyone in the house. I remember one Tuesday morning when I was rushing to pack lunches and decided to whip this up on a whim.
I'd always used the stuff straight from the jar, but I wanted something that felt a bit more like a treat, something that wouldn't just tear through a piece of soft brioche.
The first time I tried it, I accidentally over whipped the cream, and for a second, I thought I'd ruined it. But as it settled, I realized I'd created this airy, mousse like texture that felt way more luxurious than any store-bought option.
It turned a boring piece of toast into a decadent event, and I've been making it every single week since then.
You're going to love how this turns out. It's not just about mixing ingredients, it's about creating a texture that's silky yet stable. Whether you're looking for a Peanut Butter Birthday Spread for a celebration or just a little something to satisfy a craving, this recipe delivers a result that's light and airy.
The Trick Behind the Texture
Instead of just stirring, we're using mechanical energy to force air into the fats. This changes the mouthfeel from "sticky" to "velvety".
- Air Incorporation: High speed blending creates tiny air bubbles in the butter, making the spread feel lighter.
- Fat Binding: The peanut butter and butter merge into a single, smooth phase that doesn't separate.
- Syrup Stabilization: Maple syrup provides a liquid bridge that keeps the fats from feeling too heavy or greasy.
- Dairy Lift: The heavy cream adds a final layer of aeration, giving it that cloud like finish.
| Texture Goal | Mix Time | Temp | Visual Cue |
|---|---|---|---|
| Dense/Rich | 2 mins | Room Temp | Pale yellow |
| Balanced | 4 mins | Room Temp | Glossy sheen |
| Cloud like | 6 mins | Cool butter | Pale, fluffy peaks |
Component Analysis
Understanding what each part does helps when you're adjusting flavors on the fly.
| Ingredient | Science Role | Pro Secret |
|---|---|---|
| Natural Peanut Butter | Primary Fat/Structure | Use the "no stir" kind for faster blending |
| Unsalted Butter | Creaminess/Stability | Soften to 65°F for better aeration |
| Heavy Cream | Aeration/Lightness | Keep it cold until the very last second |
| Maple Syrup | Sweetness/Texture | Adds a floral note that cuts through the fat |
The Building Blocks
Get your ingredients ready. Trust me on this, having the butter softened is the difference between a smooth spread and a lumpy mess.
- 1 cup (255g) creamy natural peanut butter (unsweetened) Why this? Provides the nutty base and essential oils
- 1/2 cup (115g) softened unsalted butter Why this? Adds structure and a velvety mouthfeel
- 1/4 cup (60ml) maple syrup Why this? Natural sweetener that blends better than granulated sugar
- 1 tsp (5ml) pure vanilla extract Why this? Rounds out the salt and nuttiness
- 1/4 tsp (1.5g) fine sea salt Why this? Essential for cutting through the richness
- 2 tbsp (30ml) heavy cream Why this? Creates the final fluffy lift
Substitution Options
| Original Ingredient | Substitute | Why It Works |
|---|---|---|
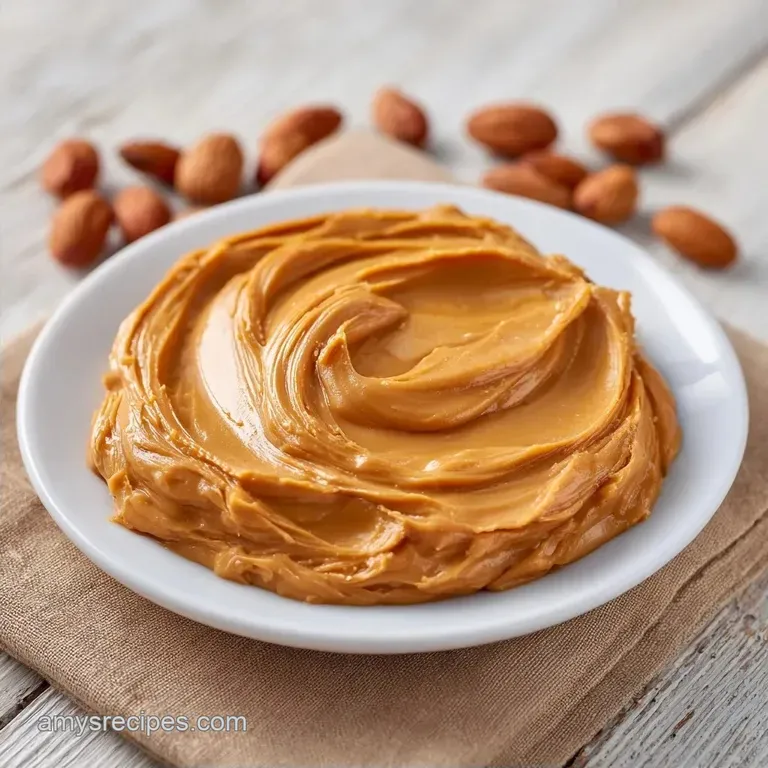
| Peanut Butter | Almond Butter | Similar fat profile. Note: Lighter, more subtle nut flavor |
| Maple Syrup | Honey | Similar viscosity. Note: Stronger, more distinct floral taste |
| Heavy Cream | Coconut Cream | High fat content. Note: Adds a tropical hint |
| Unsalted Butter | Vegan Butter | Similar structure. Note: Some brands add extra salt |
Key Steps
Right then, let's get into the making. Use a food processor if you have one, as it handles the thick peanut butter much better than a handheld mixer.
- Toss the peanut butter and softened butter into the food processor bowl. Note: Ensure butter is truly soft to avoid lumps
- Blend on medium high for 2 minutes until the mixture is pale and smooth.
- Pour in the maple syrup. Note: Do this slowly to prevent splashing
- Add the vanilla extract and sea salt.
- Process for another 60 seconds until the spread looks glossy.
- Turn the processor to high speed.
- Slowly drizzle in the heavy cream while the blades are spinning. Note: This is where the air gets trapped
- Whip on high for 1-2 minutes until the spread achieves a fluffy, cloud like consistency.
Chef's Tip: For a deeper flavor, try adding a tiny pinch of espresso powder. It doesn't make it taste like coffee, but it makes the peanut butter taste "darker" and more intense.
What Can Go Wrong (and How to Fix It)
Even the simplest recipes can act up. Most issues with a Butter Birthday Spread come down to temperature. If your butter was too cold, you'll see tiny bits of yellow throughout the mix. If it was too melted, it won't hold air.
The Spread is Too Runny
This usually happens if the butter was melted rather than softened, or if the room is very hot. The fats lose their ability to hold onto the air bubbles.
The Texture is Grainy
Graininess often comes from using a peanut butter that has separated and wasn't stirred well before measuring, or from using honey that has crystallized.
The Oil is Separating
If you over process the mixture after adding the cream, the fat can break. This happens when the emulsion collapses and the oil leaks out.
| Problem | Root Cause | Solution |
|---|---|---|
| Runny consistency | Butter too warm | Chill for 20 mins, then re whip |
| Lumpy texture | Butter too cold | Microwave for 5 seconds, blend again |
| Oil separation | Over mixing | Fold in 1 tsp of cold cream by hand |
Common Mistakes Checklist
- ✓ Used softened butter, not melted butter
- ✓ Stirred natural peanut butter before measuring
- ✓ Added cream slowly at the end
- ✓ Used a food processor for maximum aeration
- ✓ Measured salt accurately to avoid over salting
Mix It Up
Once you've got the base down, you can really play around with this. It's a fantastic canvas for other flavors. If you're feeling extra indulgent, you can use this as a filling for my Chocolate Peanut Butter Cake to add a lighter, creamier element to the slices.
Flavor Twists
- Dark Chocolate Swirl: Fold in 2 tbsp of melted dark chocolate at the very end for a marbled effect.
- Maple Cinnamon Twist: Add 1/2 tsp of ground cinnamon with the vanilla for a cozy, autumnal vibe.
- The Vegan Swap: Use a high-quality vegan butter and coconut cream. It stays remarkably similar in texture.
- Low Carb Option: Replace maple syrup with a monk fruit syrup. According to Serious Eats, sugar alternatives can affect stability, so you might need an extra tablespoon of cream to maintain the fluff.
- If you want a dip
- Use slightly more heavy cream.
- If you want a frosting
- Use an extra 2 tbsp of butter.
- If you want a salty snack
- Double the sea salt and add crushed peanuts on top.
Making More or Less
Adjusting this recipe is straightforward, but be careful with the whipping times.
Scaling Down (½ Batch) Use a smaller food processor if possible. If using a full size one, reduce the blending time by about 20% because the smaller volume will reach the "pale" stage faster.
Scaling Up (2x-4x Batch) Work in batches if your processor is small. Do not double the salt or vanilla exactly; start with 1.5x and taste it. Liquids like cream and syrup can be reduced by about 10% when scaling up significantly to ensure the spread doesn't become too soft.
| Method | Time | Texture | Best For |
|---|---|---|---|
| Food Processor | 10 mins | Ultra Fluffy | Parties & Cake Filling |
| Hand Mixer | 15 mins | Creamy/Dense | Simple Toast |
Truth About Nut Butters
There are a few things people get wrong about these types of spreads. Let's clear them up.
The "Natural" Myth: Some think natural peanut butter is always better. While it has fewer additives, the "stabilized" versions (with a bit of palm oil) actually emulsify faster in a food processor. Both work, but natural requires a bit more blending.
The Salt Logic: Many believe adding salt makes it "salty". In reality, salt acts as a flavor enhancer that suppresses the bitterness of the peanut skins and brings out the sweetness of the maple syrup.
Storage Guidelines
Keep your Peanut Butter Spread in an airtight glass jar.
Fridge Life: It stays fresh for up to 2 weeks in the refrigerator. Because of the dairy and butter, it will firm up significantly when cold.
Freezing: You can freeze this for up to 2 months. Store it in a freezer safe container. When you're ready to use it, thaw it in the fridge overnight and give it a quick whisk to bring back the fluff.
Zero Waste: Don't throw away the remnants in the jar. Add a splash of warm milk or water to the leftover spread and shake it up to create a quick peanut butter sauce for oatmeal or pancakes.
Presentation Tips
Depending on who you're serving, you can change how this looks. This is a great pairing for my Birthday Cake Ice Cream if you want a full blown dessert platter.
Simple Level
Spread a thick layer on toasted sourdough. Top with sliced bananas and a drizzle of extra maple syrup. It's honest, rustic, and satisfying.
Polished Level
Slice Granny Smith apples into thin wedges. Place the spread in a small ramekin as a dip, topped with a sprinkle of cinnamon and a few pomegranate seeds for a pop of color.
Restaurant Level
Use two spoons to create a perfect quenelle (an elegant oval scoop) of the spread. Place it in the center of a white plate, surround it with fresh raspberries, and finish with a few mint leaves and a dusting of powdered sugar.
| Plating Style | Vessel | Garnish | Vibe |
|---|---|---|---|
| Simple | Toast/Bagel | Banana slices | Weekday Morning |
| Polished | Ramekin/Bowl | Pomegranate | Brunch Party |
| Restaurant | Flat Plate | Mint & Berries | Fancy Dessert |
Recipe FAQs
How to achieve a fluffy, cloud like consistency?
Whip heavy cream on high for 1-2 minutes. Slowly pour the cream into the food processor while it is running to properly aerate the mixture.
Can I store this spread in the refrigerator?
Yes, it stays fresh for up to 2 weeks. Use an airtight glass jar, but be aware that the butter and cream will cause the texture to firm up significantly.
Is it true that this spread cannot be frozen?
No, this is a common misconception. You can store the spread in a freezer safe container for up to 2 months.
How to freeze the spread for long term storage?
Transfer the mixture to a freezer safe container. When ready to use, thaw it in the fridge overnight and whisk it quickly to restore the fluff.
Why is the spread too firm after refrigeration?
Dairy and butter solidify when cold. Let the jar sit at room temperature for a short time or give it a quick stir to soften the consistency.
How to ensure the base is pale and smooth?
Blend peanut butter and softened butter on medium high for 2 minutes. This creates the necessary foundation before adding sweeteners. If you enjoyed mastering this emulsification, see how a similar fat-blend logic works in our pumpkin cookies.
How to make the spread look glossy?
Process the maple syrup, vanilla, and salt for 60 seconds. This step must follow the initial butter blend to give the spread its characteristic shine.
Creamy Peanut Butter Spread